🎉 A new blog for a new year

UPDATE (1/12/20): This blog no longer runs as described below. Though it was fun rolling a custom CMS from scratch, I have since migrated to the static site generator Gridsome and Github Pages for hosting. Credit goes to Brian Schiller for shaming me out of paying for hosting costs and sharing Gridsome with me. The source code for this project is still publicly available on Github.
As part of my pending New Year's resolutions, I decided that I wanted to do more technical writing. So, as a means to an end, I created a lightweight blog and accompanying content management system (CMS).
Though I had used other blogging CMS platforms in the past, namely Wordpress and Medium, I wasn't satisfied with their walled-garden approach to content management. I wanted the flexibility of having complete ownership of my content and platform, so that if I ever wanted to take my posts elsewhere, a simple database migration would suffice. I also am very particular about what I want and and don't want in a user-interface. So given these considerations, developing a simple blogging platform from scratch was the way to go.
Requirements:
My three main requirements were:
- Keep it simple. I didn't want my "lightweight" idea to turn into a massive project into itself, after all, the nexus of this plan was still a means to an end. I wanted something quick to develop and easy to maintain.
- Write and store my posts in Markdown. No messy HTML, templates, components, or anything else.
- Keep costs low. Though I'm willing to spend some money for hosting, below $10 a month is the goal.
Additionally, I wanted:
- Image uploading. I want to be able to "add an Image" on the fly to my posts without using an external service like Imgur.
- Built-in
syntax highlighting. This was going to to be a technical blog after all. - The ability to drop into HTML when necessary. Though I originally said that I don't want the "messiness" of HTML, I want to be able to use it directly in my markdown when aboslutely needed.
Considerations:
Given that I was going to create my own CMS, I wanted the stack to be something that I enjoyed working in. My original thought was to use Node.js, to connect to PostgreSQL and serve a React/Vue front-end. Though I quickly pivoted from this idea after reminding myself of the lackluster ORM support in JavaScript. Okay, what language has my favorite ORM? Why Python's SQLAlchemy of course!
Okay, so my back-end is going to be Python, so I'll still serve up that React/Vue app from Flask server. Though switching the back-end to Python got me thinking, do I really want the blog to be a single page application (SPA)? In my experience SPAs can be notoriously slow in comparison to small server-side rendered templates. And given that my application was going to be a blog, I really didn't need most of the overhead of what a "web application" provides. Users need to be able to read my posts, I need to be able to upload my content. Seems like a good candidate for good old-fashioned web forms to me. And as an added bonus, I don't need to create a modern API, I just need to handle a few simple GET and POST requests. Score!
To recap, the app will run a Flask server and a PostgreSQL back-end. I wont be using any modern JavaScript frameworks, any JavaScript that I need will be vanilla ES6 or something more old-school like JQuery. As for styling and responsiveness, I'm a big fan of custom CSS Flexbox, so I'll be using that.
Implementation:
Not starting from scratch:
To begin, I took to a bit of searching to see if someone had already made a similar tool. Why reinvent the wheel? Low and behold, I came across an example blog repository from the makers of the peewee ORM.

For my needs, it had a lot going for it:
- A fully-functional CMS blogging implementation using Markdown
- Handles user sessions
- Converts Markdown to HTML with gorgeous syntax highlighting
- A tiny, bare-bones implementation, with lots of room for customization
But it also had a couple of strings attached:
- Not using SQLAlchemy or Postgres
¯\_(ツ)_/¯ - Using Bootstrap (boo)
Adding a proper User table:
Originally, there was a hard-coded admin user being validated like so:
ADMIN_PASSWORD = 'secret'

...

if password == app.config['ADMIN_PASSWORD']:
	session['logged_in'] = True
	session.permanent = True  # Use cookie to store session.
Even for a simple blog like this one, plaintext passwords make me a bit squeamish. So after swapping out peewee and sqlite3 for SQLAlchemy and Postgres, I implemented a User class, with proper password salting and hashing:
...
from werkzeug.security import generate_password_hash, check_password_hash
from sqlalchemy.orm.exc import NoResultFound
from main import db

class User(db.Model):
    id = db.Column(db.Integer, primary_key=True)
    username = db.Column(db.String(150), unique=True)
    password_hash = db.Column(db.String(128))

    def __init__(self, username, password):
        self.username = username.lower()
        self.set_password(password)

    def set_password(self, password):
        self.password_hash = generate_password_hash(password)

    def check_password(self, password):
        return check_password_hash(self.password_hash, password)

    @classmethod
    def get(cls, username):
        try:
            return User.query.filter(User.username == username.lower()).one()
        except NoResultFound:
            return None
Which allows us to log in like so:
# inside of a request:
username = request.form.get('username')
password = request.form.get('password')
user = User.get(username)
if user and user.check_password(password):
	session['logged_in'] = True
	session['user_id'] = user.id
	session.permanent = True  # Use cookie to store session.
Adding a few more tables:
After implementing the Post and User tables, I added a few more:
ImageCommentTagPostTag(Tags and Posts have a many-to-many relationship)
Using a beautiful Markdown editor:
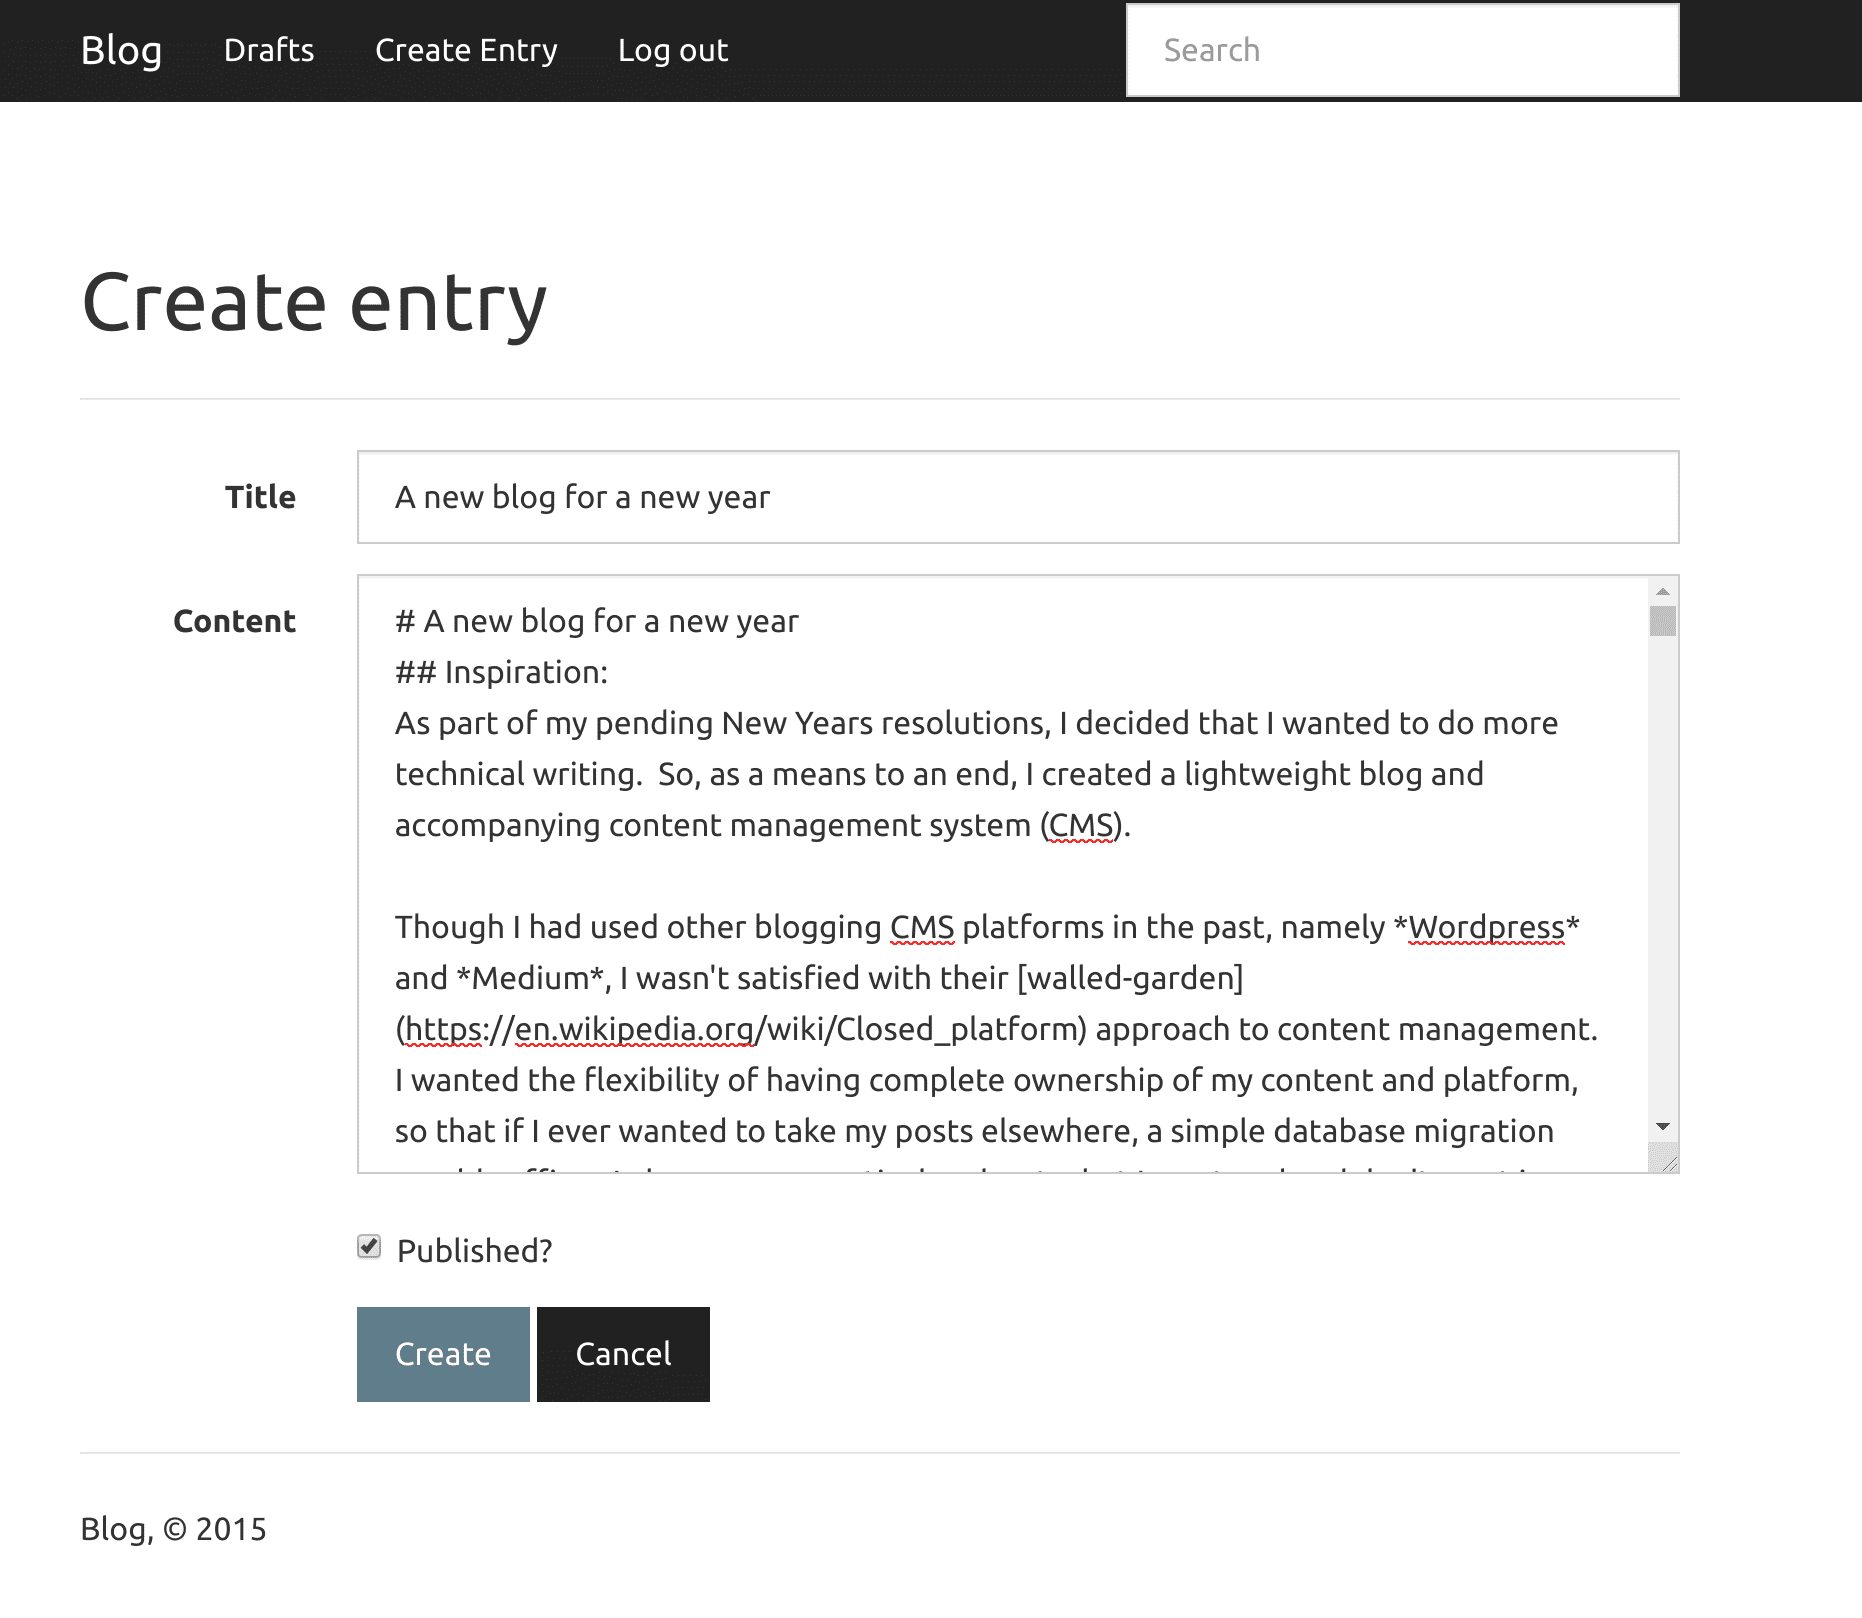
The original codebase was using a simple <textarea/> for editing content. My original thought was to add in an AceEditor instance to provide some Markdown syntax highlighting, that was until I stumbled across the glory that is SimpleMDE Markdown Editor.
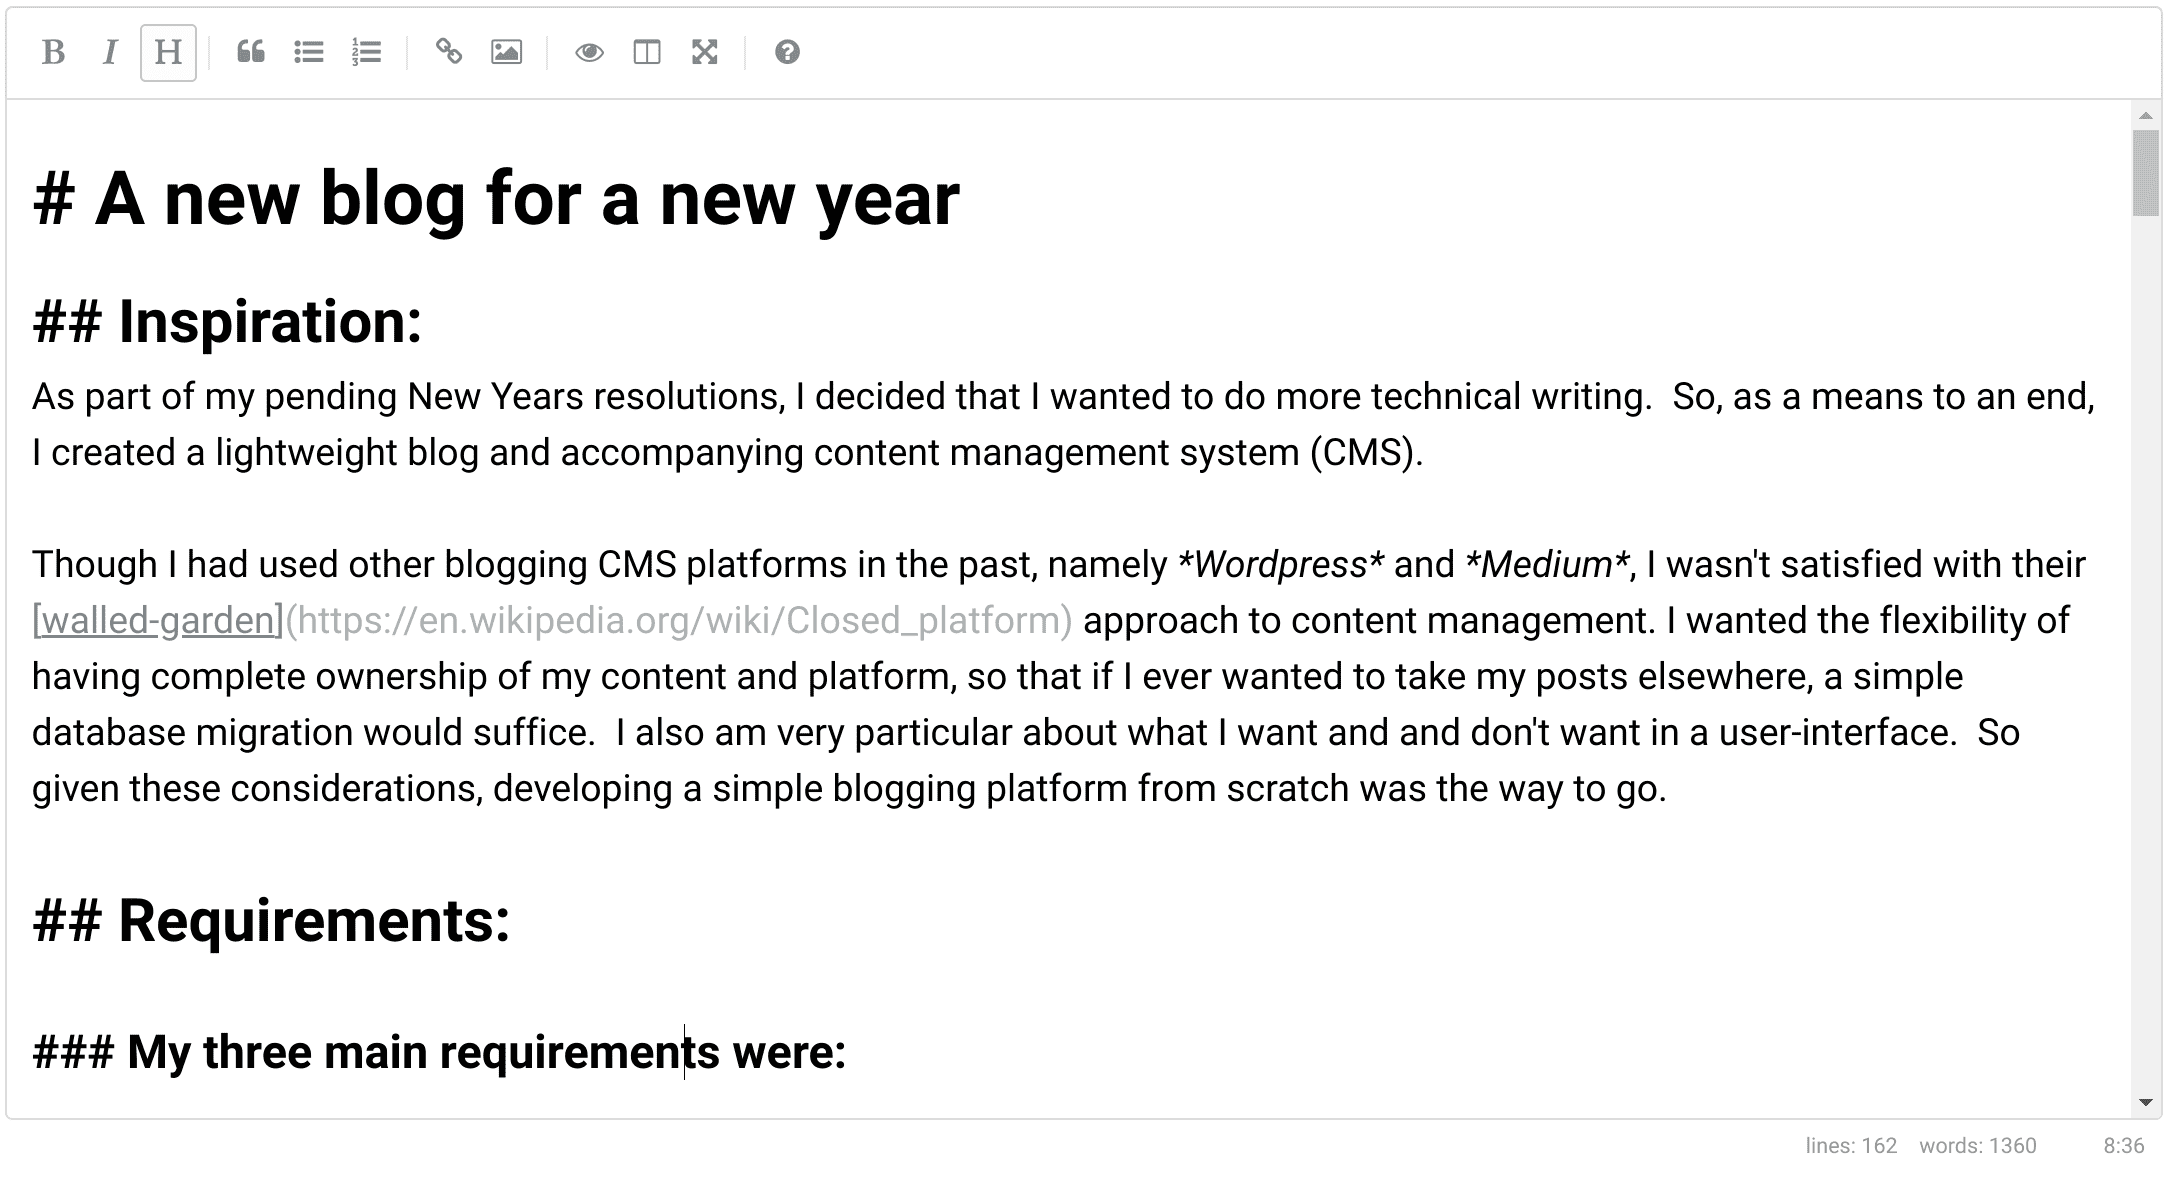
The editor, which supports HTML previewing as you type in addition to a number of other useful features looks like this in it's most basic form:

Image uploads
This was the fun part. One of my requirements for this project was to be able to upload and incorporate images without leaving the editor. I chose to use an S3 Bucket for this due to the incredibly low costs.
The implementation ended up being fairly simple. My Image class had three columns, it's own id, the associated post_id, and the public location at which the image is actually hosted on S3. With this in place, all we had to do is upload the image to S3, and then create an entry in our Image table.
# inside of a request:
file = request.files['file'] # get a file from a form post
if file and allowed_file(file.filename): # ensure the file is an allowed image type (.jpeg` .gif, .png)
	filename = secure_filename(file.filename) #  https://werkzeug.palletsprojects.com/en/0.16.x/utils/#werkzeug.utils.secure_filename
	s3_bucket.put_object(Key=f'{post.slug}/{filename}', Body=file, ACL='public-read') # upload image to AWS
	new_image = Image(post.id, f'{os.environ["AWS_BUCKET_URL"]}/{post.slug}/{filename}')
	new_image.save()
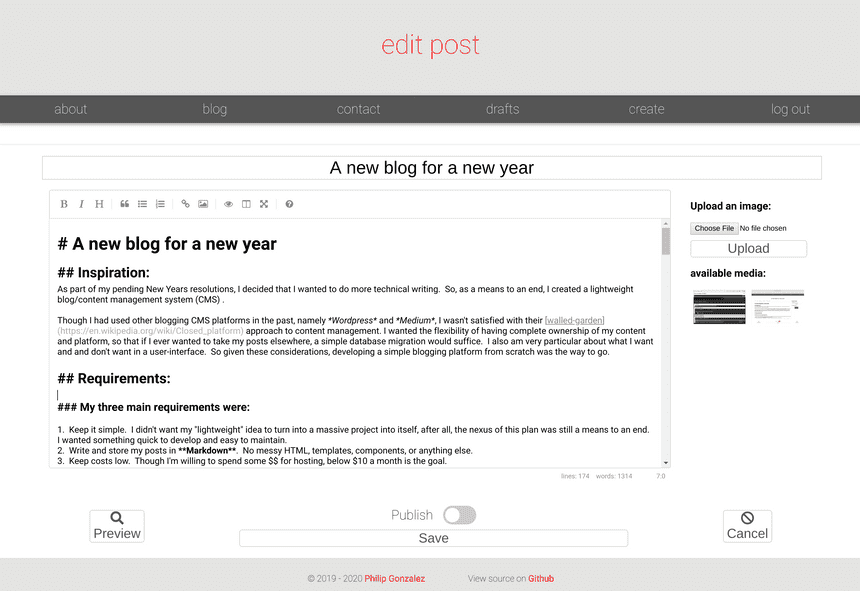
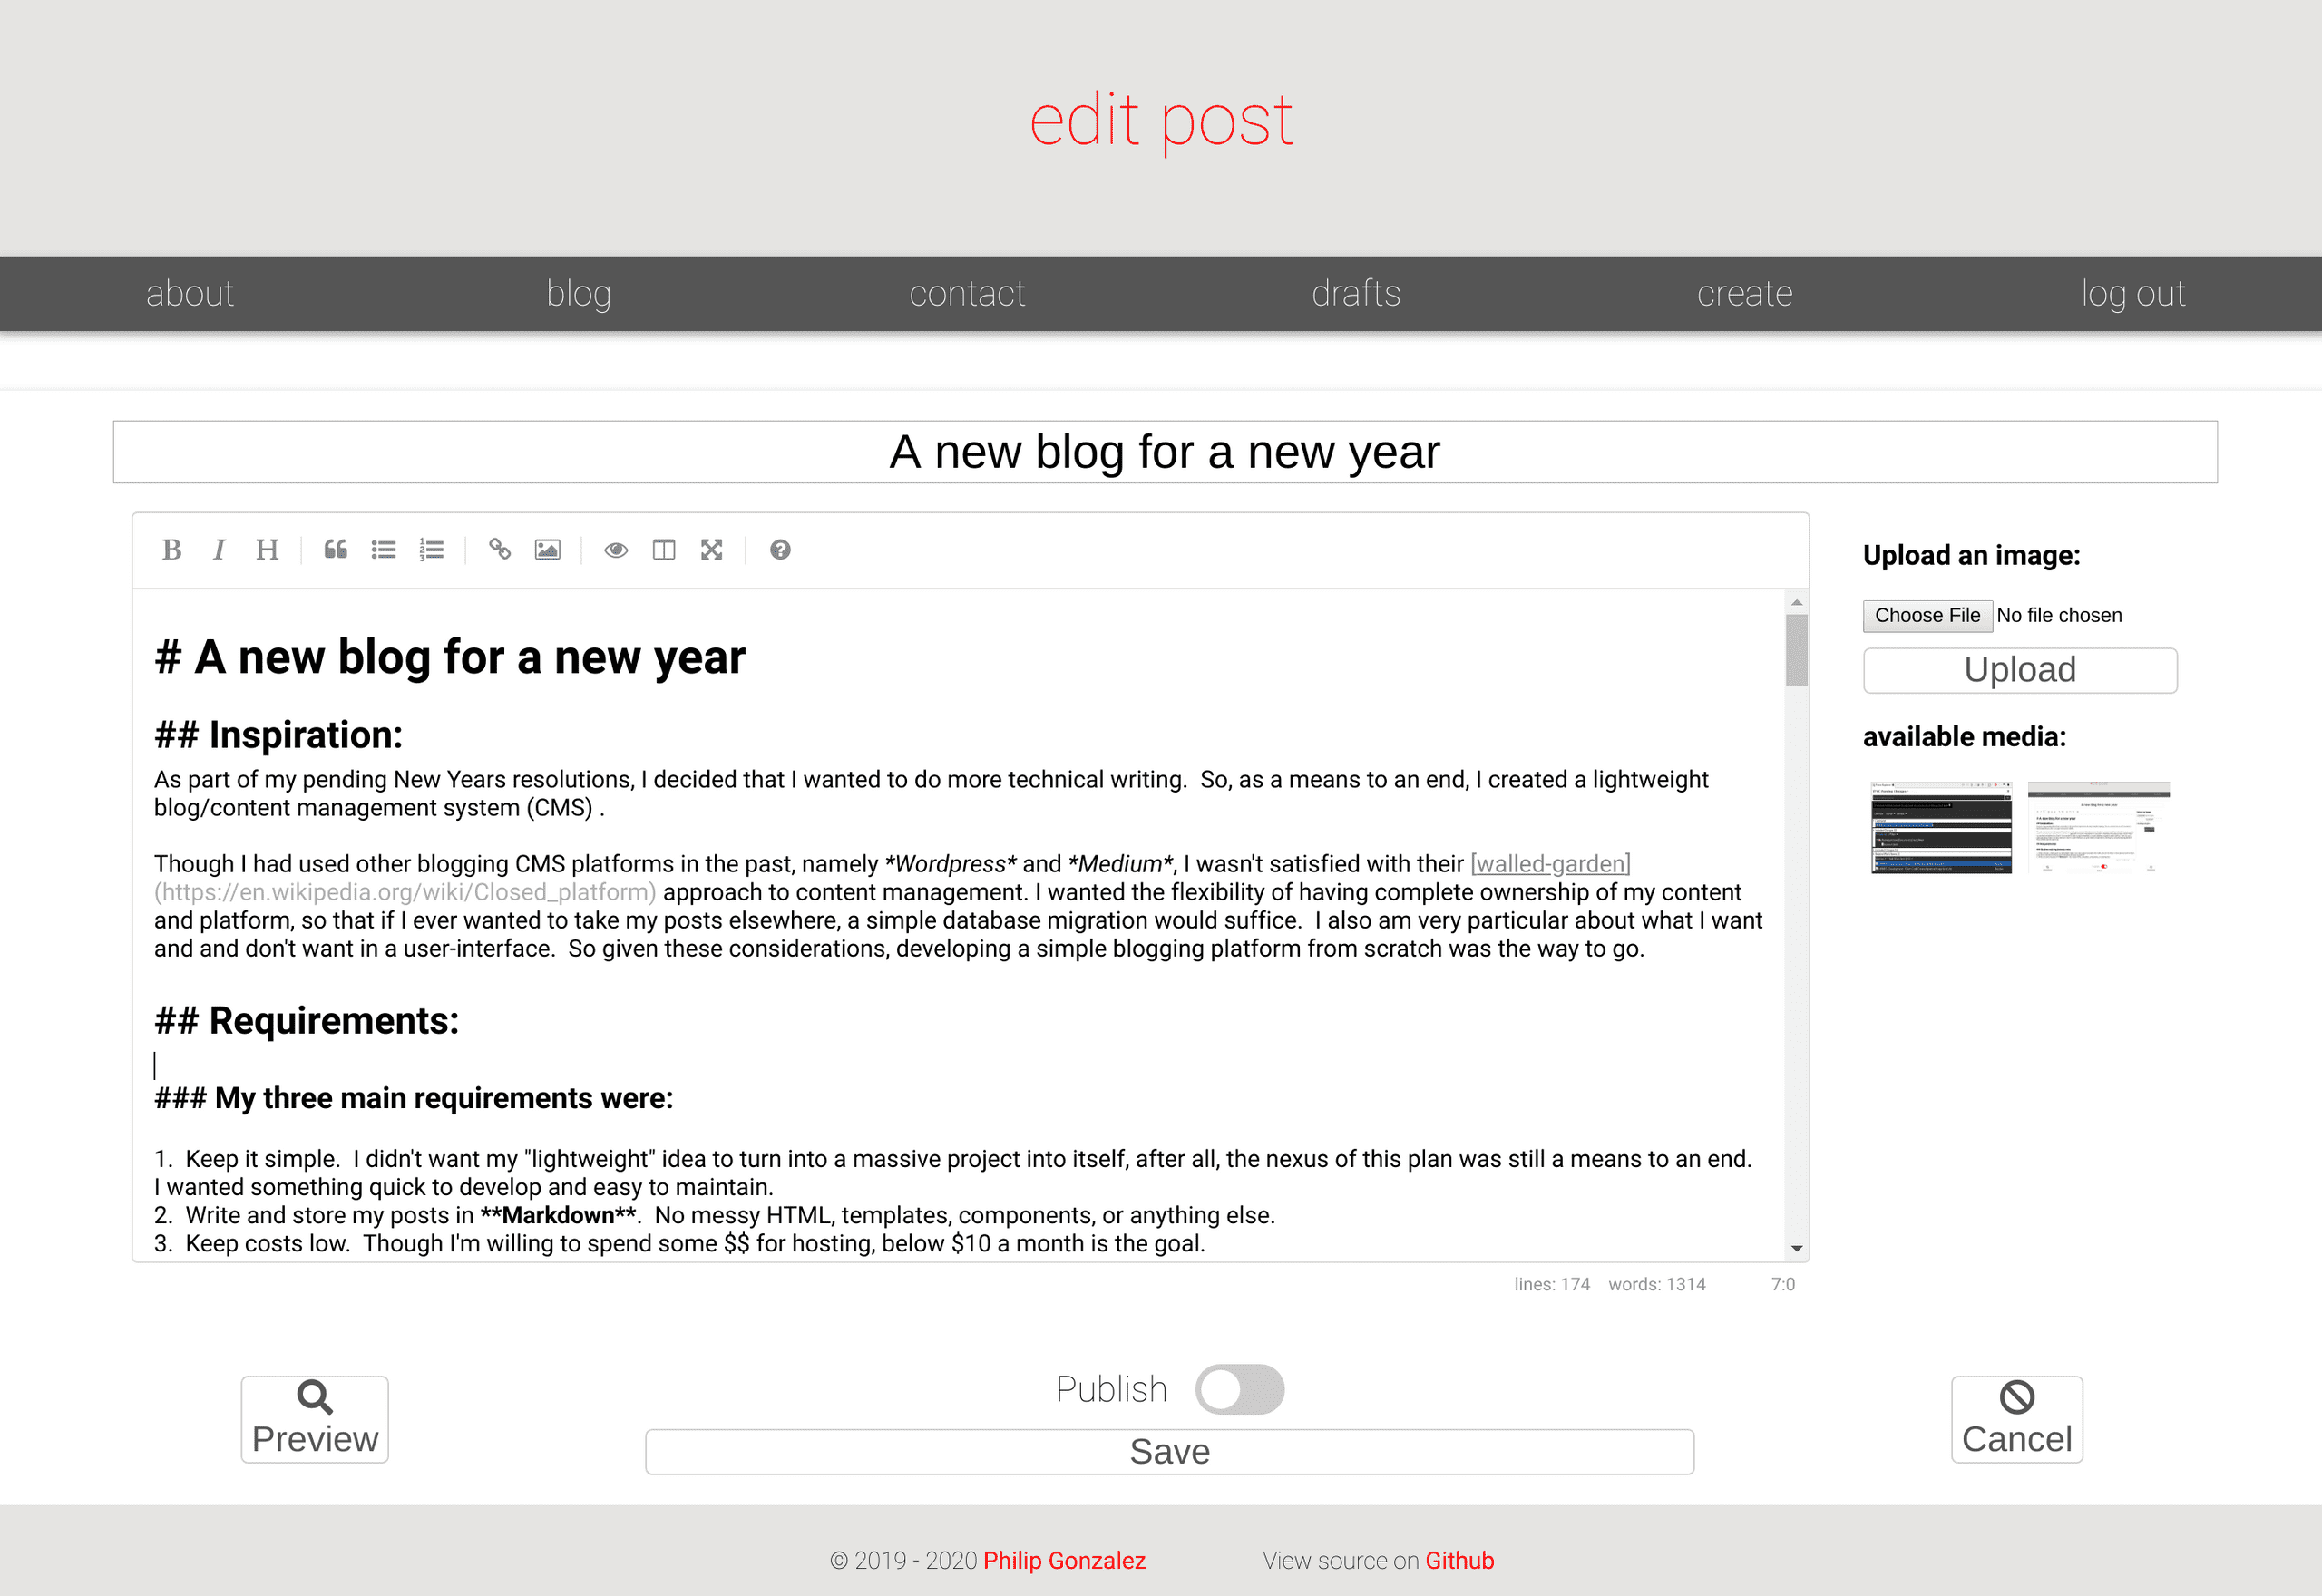
With the Post class then updated to have a a one-to-many relationship with the images associated with it, (images = db.relationship("Image")), we can display the images associated with each post in the editor like so:
<div class=image-thumbnails>
	{% for image in post.images %}
		<img class="thumbnail" src="{{image.location}}" />
	{% endfor %}
</div>
The end result looks like this:

Styling and Scripting:
Flexbox for all:
After removing Bootstrap, I styled the app by-hand with two main CSS files, one for the base, and another for mobile. Opting to use Flexblox for most dynamic <div /> elements was relatively painless. I had never used a css file that activated with a media query before, but it's very easy to implement in HTML:
<link rel=stylesheet type=text/css href="{{ url_for('static', filename='css/blog.css') }}" />
<link rel="stylesheet" media="screen and (max-width: 650px)" href="{{ url_for('static', filename='css/mobile-blog.css') }}" />
Going old-school with JQuery:
Up unto this point I had almost written no JavaScript! 😲 To be sure, there was JavaScript living on my site in the form of SimpleMDE, but other than that, most everything else was server-rendered. So in order to accomplish a few simple quality of life niceties, I used a grand total of 59 lines of JavaScript to:
- Give posts human-readable datetime strings with the Moment.js library (overkill, I know)
- Wrap img tags inside of my posts with FancyBox
- Fade out a div alerts created using Flask Flash with JQuery
- Use Vanilla JS to:
- Copy a Markdown img tag to the clipboard when clicking on an image in the related media section of the editor
- Create a sticky navbar that hides a header on scroll
I was actually impressed that I was able to create a decently slick Web App with such little Javascript.
Reflections on NOT using a modern SPA framework in 2020:
Reaching for Jinja Templates and Jquery in 2020 certainly felt a little bit wrong, but the overall experience wasn't terrible. In fact, development of the blog was probably speedier than if I had chosen to use a modern framework like React, Vue, or even Angular.
The limitations of not using any AJAX calls and handling everything via web-form POST requests however certainly began to have its limitations. Not using AJAX meant that anything that was related to creating & updating the blog post lived inside of the same <form \> tag.
Take the image upload feature as an example: Let's imagine a user is drafting a blog post, and wants to upload an image. Because there is no AJAX, the page is going to reload. So in order to preserve the work that the user has already written, we first POST the entire contents of the blog draft, save it, and then handle the image upload. In actuality, the image upload field lives inside of the same form used for simply saving a draft. We just only process the image if the user clicks the upload image submit form as opposed to the save or preview submit forms.
The Python code the processes the request ends up looking like this, and it certainly feels a little wrong (concatenated for brevity):
def _create_or_edit(post, template):
    # always save the post
    post.save()
    flash('Post saved.', 'success')

    # Route user to the preview page
    if request.form.get('action') == 'preview':
        return redirect(url_for('preview', slug=post.slug))

    #handle an image upload
    elif request.form.get('action') == 'upload-image':
        file = request.files['file']
        new_image = Image(post.id, f'{os.environ["AWS_BUCKET_URL"]}/{post.slug}/{filename}')
        new_image.save()
        return redirect(request.url)

    # If the post is published, route user to the 'detail screen'
    elif post.published:
        return redirect(url_for('detail', slug=post.slug))

    # Otherwise, just save the post and show user back to the editor
    else:
        return redirect(url_for('edit', slug=post.slug))
The bummer about this logic is that it has to live inside of a single routing function, so it's difficult to have separate concerns.
Next Steps:
Though tagging and commenting are implemented from a database perspective, there isn't yet a web interface for this.